Philo: A brief overview and setting it up on Roku
Setting up your Roku and Registering Philo
We have partnered with Philo to provide 64 channels of streaming high definition TV channels over the campus network. Currently enrolled students who are living in Residence Halls, Village Apartments, and Legacy Apartments will have access to Philo when on the Harding Network. It can be accessed through a computer on Chrome, Firefox, Safari, or Internet Explorer/Microsoft Edge, PHILO for smartphones, Apple TV, and through Roku streaming devices. In addition to the streaming channels, users will also be able to record up to 20 hours of live TV. Philo can only be accessed through the secured campus network -- HU-Student -- not the guest network and is not available off-campus or through the cell network. Check out www.philo.com for additional information
This post will cover setting up Philo on Roku streaming devices. We will first dive into setting up the Roku, followed by getting the Philo channel to appear on the Roku channel list.
*DISCLAIMER* - There are many different devices under the Roku umbrella. While it's likely that the setup for these devices is similar, it's worth noting that for this tutorial we used the Roku Express+
*DISCLAIMER* - There are many different devices under the Roku umbrella. While it's likely that the setup for these devices is similar, it's worth noting that for this tutorial we used the Roku Express+
CONFIGURE YOUR ROKU
- Ensure that your Roku device is connected to a power source and that the TV and Roku are connected via the HDMI cable that came with the device.
- Upon powering on for the first time, you should be prompted with a screen asking what language you would like the Roku to use.

- Next, you will be prompted to choose your network. In order for Philo to work on your device, you must be connected to HU-Student.


- After choosing HU-Student, you will be asked for the password, which is BlackandGold24.
- Enter the password and press 'Connect'.

- The Roku will display a progress screen next, showing whether or not the connection was successful. If the device is having difficulty connecting, you can back up and try again or contact DormNet at (501)279-4545 for more assistance.

- Assuming the device connected successfully, the Roku will ask you to select the display type. The Roku device is capable of auto-detecting what the best available resolution is for your TV.
- Press 'Ok' on your remote and the screen will temporarily go black.


- The screen should appear again only a few seconds later with the appropriate display settings showing on the TV. If the settings look correct, press 'Yes, screen looks good'. This is a time-based event, so if you do not give the Roku and input after 15 seconds it will revert back to the previous screen.

- Once the display is setup, a screen will be displayed asking you to go to roku.com/link and use the passcode given on the screen to continue your setup.

- On a device with an internet browser, go to roku.com/link
- Once there you will be asked to enter the code that is being displayed on your TV.
- Once the code is entered, a small bubble underneath the code entry window will appear asking you to agree to the terms and conditions. Once this bubble is checked, press 'Submit'.

- Now it's time to link your Roku to your Roku account. You will be taken to a screen asking if you a Roku account. If you do, press the 'Yes, I already have one' button and enter your credentials into the next screen.
- We will continue from here as if we do not already have an account. Press 'No, I need to create one'.

- Fill in all of your information in the next screen. Your Roku account does not need to be linked to your Harding email, and if you choose to link it to that be aware that when you change your password for Pipeline the password for your Roku account will not change.
- After entering your information be sure to select the bubbles that confirm your age and that you agree to the terms and conditions. There is a third bubble after that asking if you'd like to receive promotions, which you do not need to check in order to continue.
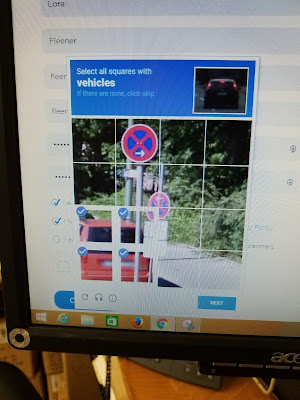
- Next, be sure to check the 'I'm not a robot' box, which may prompt you to complete a task in order to confirm that you are, in fact, not a robot. Once these steps have been completed, press 'Continue'.


Here's an example of the task you may have to complete to confirm that you are not a robot
- Next, you will be taken to a screen that will ask you to create a PIN. This PIN is to be used for purchases or adding channels to your Roku device. This is not a step that you have to complete, but it is Roku's way of protecting you from people purchasing channels on your account. There is no certain length the PIN needs to be.
- Enter the PIN and then enter it again in the box below to make sure it's correct.
- Select one of the bubbles that you would like the PIN to be used for and then hit 'Continue'.

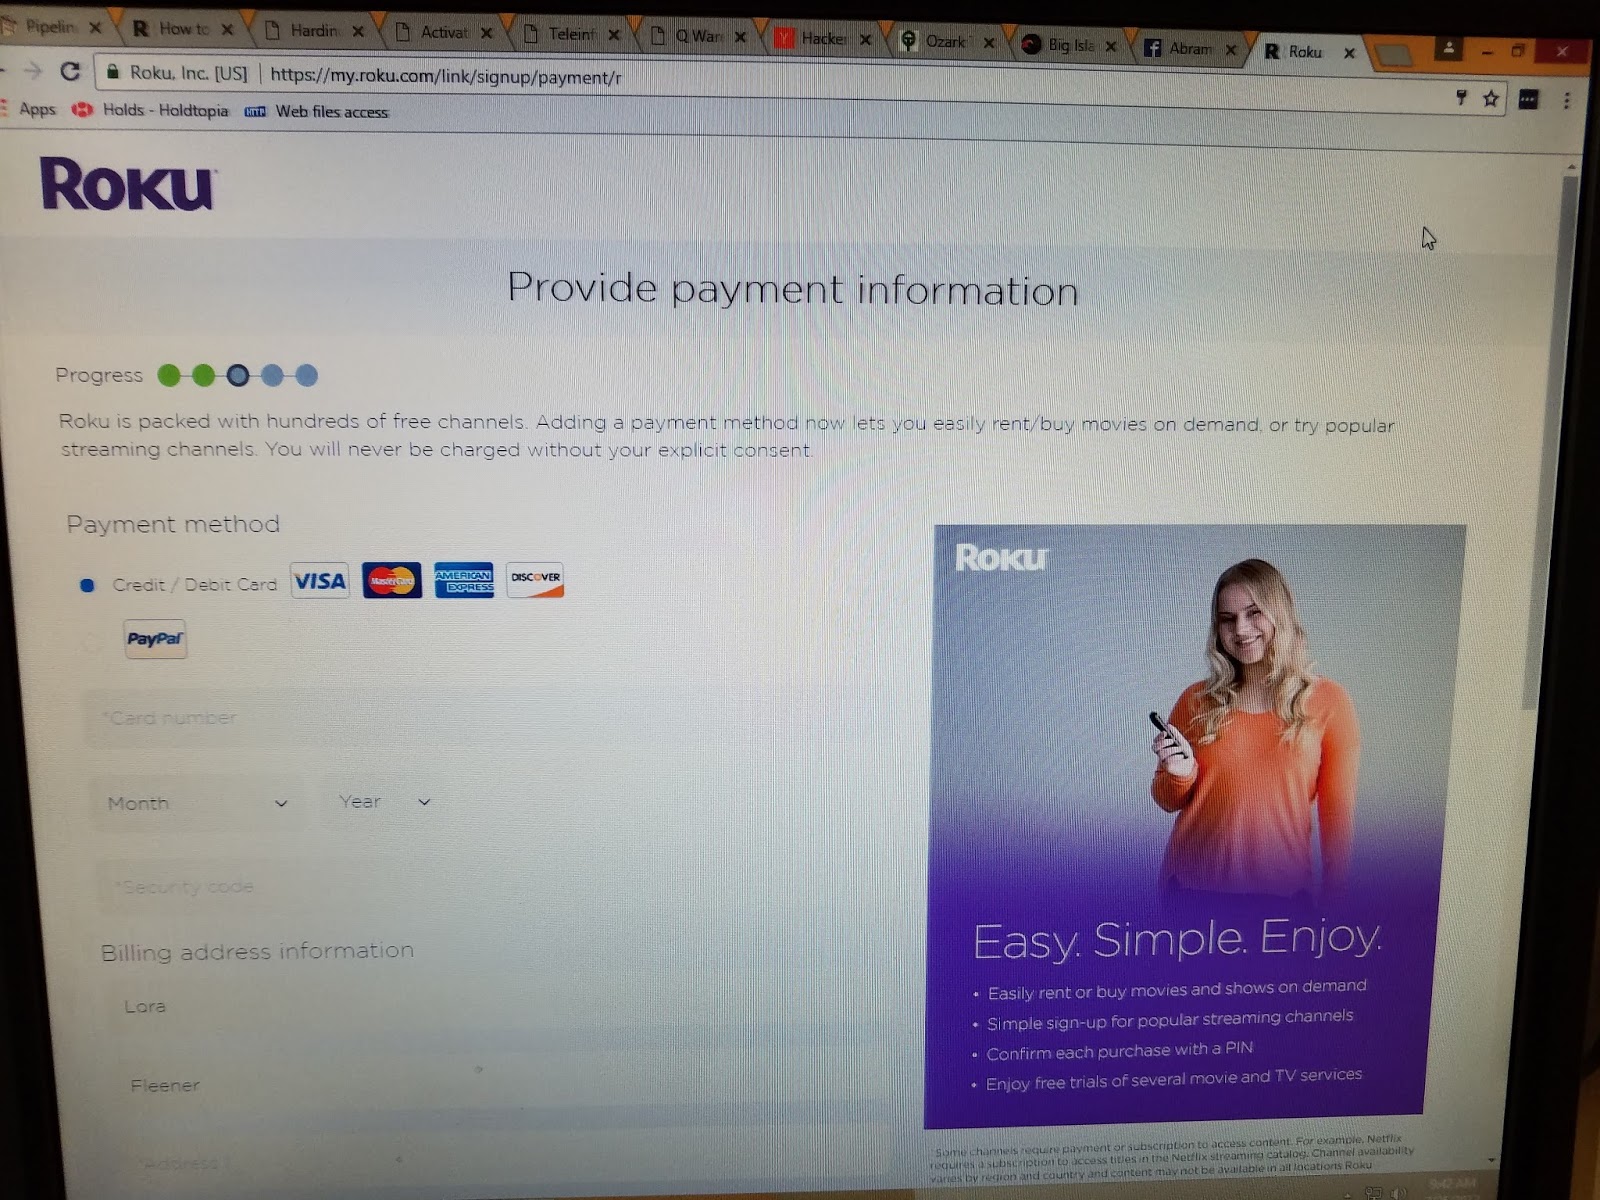
- You should now be prompted to enter in your payment information. If you'd like to enter a credit card in here so you can make purchases, do so and then click the continue button.
- You do not need to enter in this information in order to get the device setup. If you scroll to the bottom of the form, there may be a 'Skip, I'll add later' button. If there is, click it and you will go on to the next step.
- At the start the skip option did not appear for us, so this will continue with a workaround for the skip option not appearing.

- If the skip option is not appearing, press the 'Back' button, which looks like a leftward pointing arrow in the top left of your browser (the 'Back' button may look different in other browsers, we are using Google Chrome). You should then be taken to your account page.

- Once you reach this page, scroll to the bottom and there should be a heading that reads 'Linked Devices' with a button that says '+Link a device'.
- Click this button.

- You will then be redirected to the familiar screen that asks for the code displayed on your TV.
- Re-enter that code, agree to the terms, and hit 'Submit'.

- You will be sent back to the payment page, but if you scroll to the bottom the skip option should now appear.

- Next you will be prompted to select some channels to appear on your Roku. You can add or remove more channels later, but this is an opportunity to get some of the more commonly selected ones so you don't have to search for them later. Some options, such as Netflix, will be pre-selected in this screen.
- Just click the ones you want that aren't check/don't want that are checked. Then, scroll to the bottom. You will see a total for how much the channels will cost to install.
- If everything looks correct, press 'Continue'.

- Hooray! Your Roku is all set up and ready to go! Once you see the 'You're done!' screen, your TV should show an updating message, followed by a screen that says 'All Done'. This means that the Roku is fully setup and ready to go!
- Now it's time to add the Philo channel to your Roku account.


- On a device with an internet browser, go to my.roku.com/add/philoedu

- Once there, you will see a message stating that Philo is a non-certified channel. This just means that Roku doesn't monitor this channel, so it may display content that violates the requirements for a channel to be on Roku, meaning that it could be taken away without notice.
- Click 'Ok' to acknowledge that you understand this.
- Next, you will be asked if you want to add Philo to your Roku account. Click 'Yes, add channel'


- You should then see a screen telling you the channel has been added successfully. It also states that the channel can take up to 24 hours to appear on your TV, but gives instructions as to how to update your Roku to get it to appear.

DOWNLOAD PHILO CHANNEL TO ROKU
- Go to the settings menu on your Roku using your Roku remote.
- Once you have pressed 'Ok' (located on your Roku remote) on 'Settings', navigate down to the 'System' menu and press 'Ok.


- Inside the 'System' menu, go down to 'System update' and press 'Ok'.
- After pressing 'Ok', your only option on the next screen will be 'Check now'.


- Press 'Ok' and the system should begin updating your Roku. This could include more than just a channel update, as it can pick up software updates as well.
- If a software update is prompted, press 'Continue'.


- If the system did update the software, the Roku will restart itself.
- If there was no system update, and it was only checking for channels, the Roku will show a screen saying that it was updated successfully, or that the software is up to date
- If this happens, press the Home button on your Roku remote (looks like a small house) to return to your main menu.
- When you get back to the home screen, the Philo icon should be there.
- *NOTE* Sometimes the Roku will take multiple attempts to add the Philo channel. If it doesn't appear after multiple attempts at the previous steps, and it has been 24 hours, a factory reset may be necessary.
- If this is the case, navigate back to the 'Settings' menu, go to 'System', the go to 'Advanced System Settings'. Once there, choose 'Factory Reset', where you will be asked to enter the four digit code on the screen to reset your device. It will then double check to make sure you want to do this. Continue with the reset and then start the steps from the beginning of this tutorial.
REGISTER ROKU WITH PHILO ACCOUNT
- Once the Philo channel appears, navigate to it on your Roku remote and press 'Ok'.
- Once the channel is loaded, it will display a code on the screen and ask you to go harding.philo.com/roku to activate your account.
- On any device with a browser, go to harding.philo.com/roku.

- When you have navigated to harding.philo.com/roku, enter your TV code into the space that reads 'Enter device code here...' and click 'Add'.
- If your device has successfully been added, you're finished! Philo should load onto your Roku and you can enjoy programming from any of the 64 offered channels.

- Please call the DormNet Help Desk at (501)279-4545 with any questions.


No comments: